
In some cases, you want to grant access to an application for certain users only. There are usually two reasons for this: privacy and cost. You can optimize your payments for an application if it is evaluated by the number of agents who have access — please look for details on its page at the Marketplace.
Below is an instruction on how to control these limits.
When you install an application for the first time
During the installation process, you will see a page where the limits can be set up. You can grant access to several user roles or groups only, by your choice or combined.

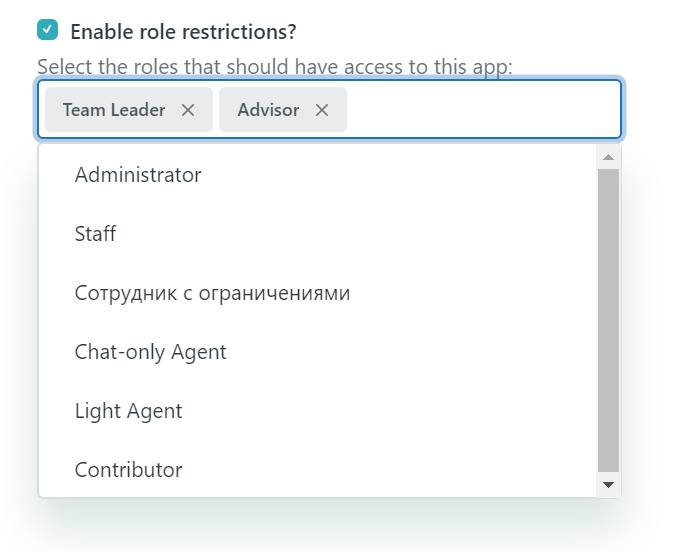
- To set up roles which have access to the application (administrator, agent, etc.) mark the appropriate check box and choose one or more individual roles from the drop-down list:
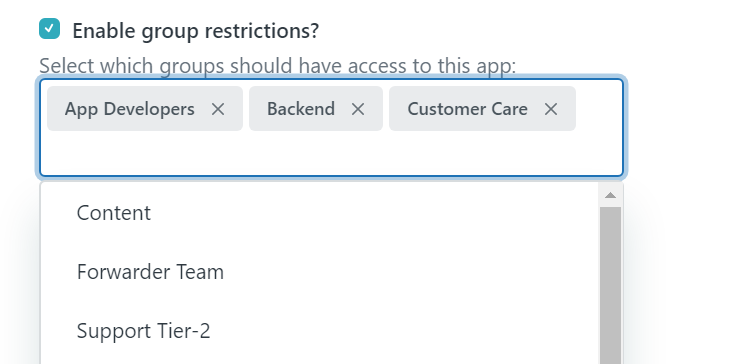
- To set up groups which have access to the application do the same steps for the “Group restrictions”:
When the roles and groups are chosen the cost will be recalculated if it is billed by users. Otherwise, the cost will not be changed but not all the users will have access. When all the restrictions are set up, click the button “Proceed to payment”. More details on how to install applications you can find in the article: “How to install an application from Marketplace?”.
If an application is already installed
If you want to restrict access for an application already installed, carry out the steps below:
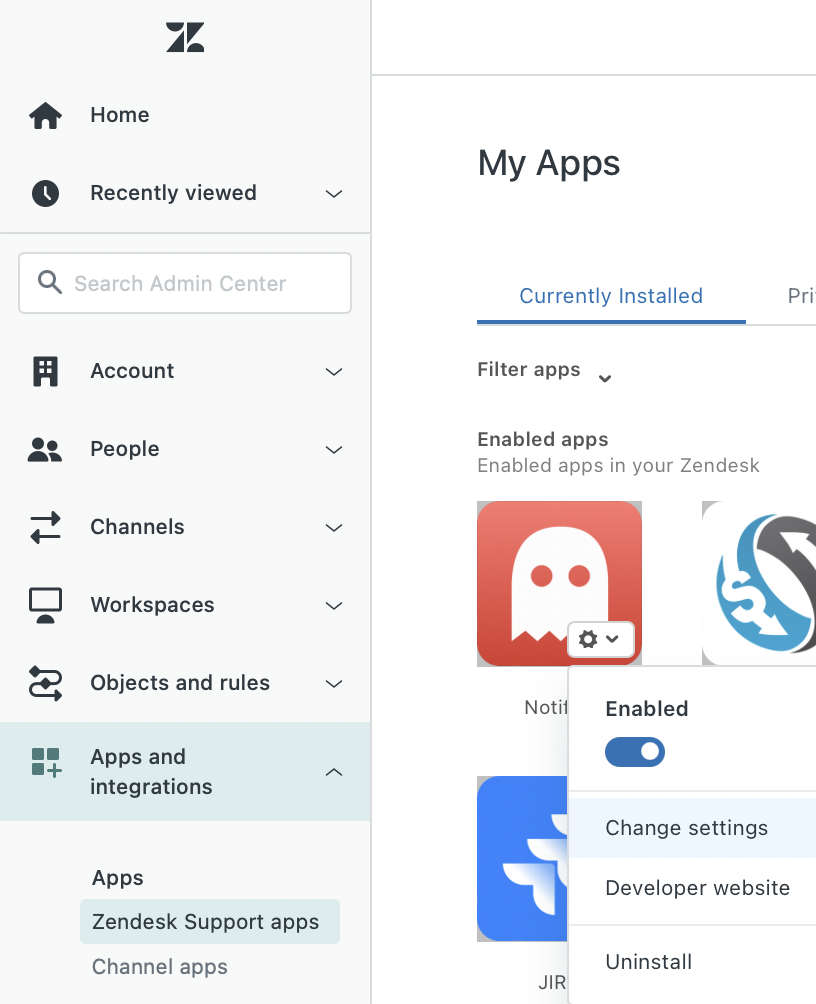
- Inside Zendesk go to Admin Center >> Apps and Integrations >> Zendesk support apps:
- Find an app you want to restrict access to and hover the mouse pointer over its icon. Click the gear icon and select “Change settings” in the list:
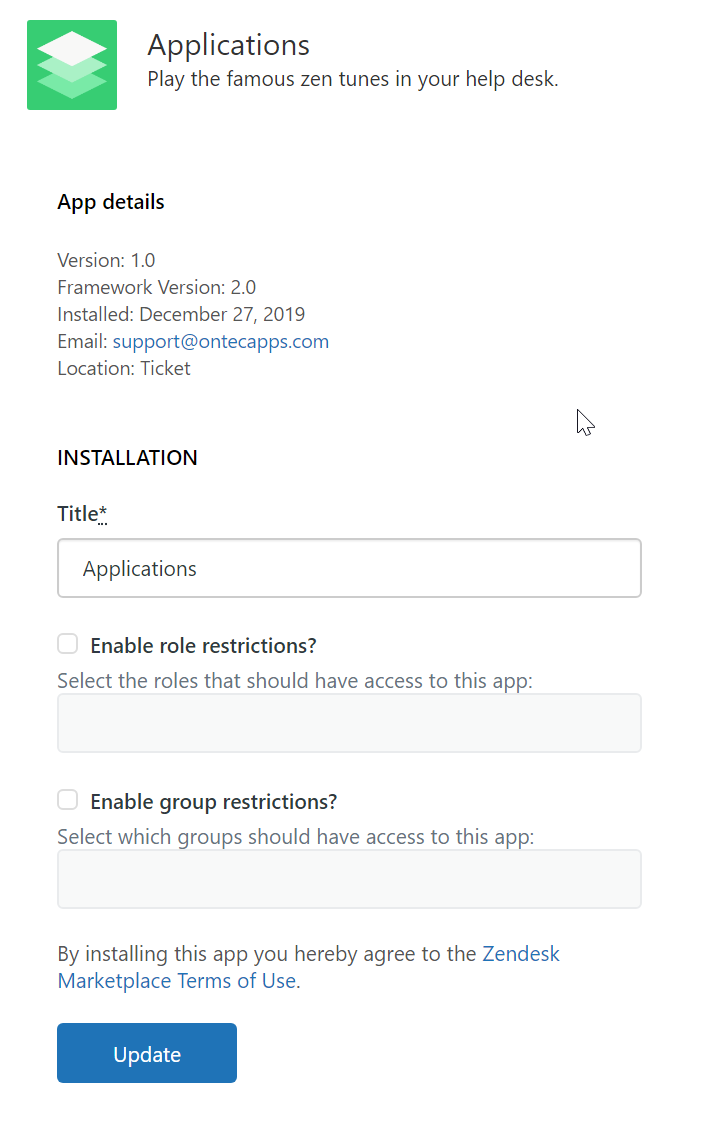
- You will see a page like this:
- To set up roles which have access to the application (administrator, agent, etc.) mark the appropriate check box and choose one or more individual roles from the drop-down list:
- To set up groups which have access to the application do the same steps for the “Group restrictions”:
When you finish click “Update” at the bottom.
Related to
Comments
0 comments