
First, download a private app: How to install a private application from a zip file?
Phase 1. Getting a VK API token
Open your VK community page.
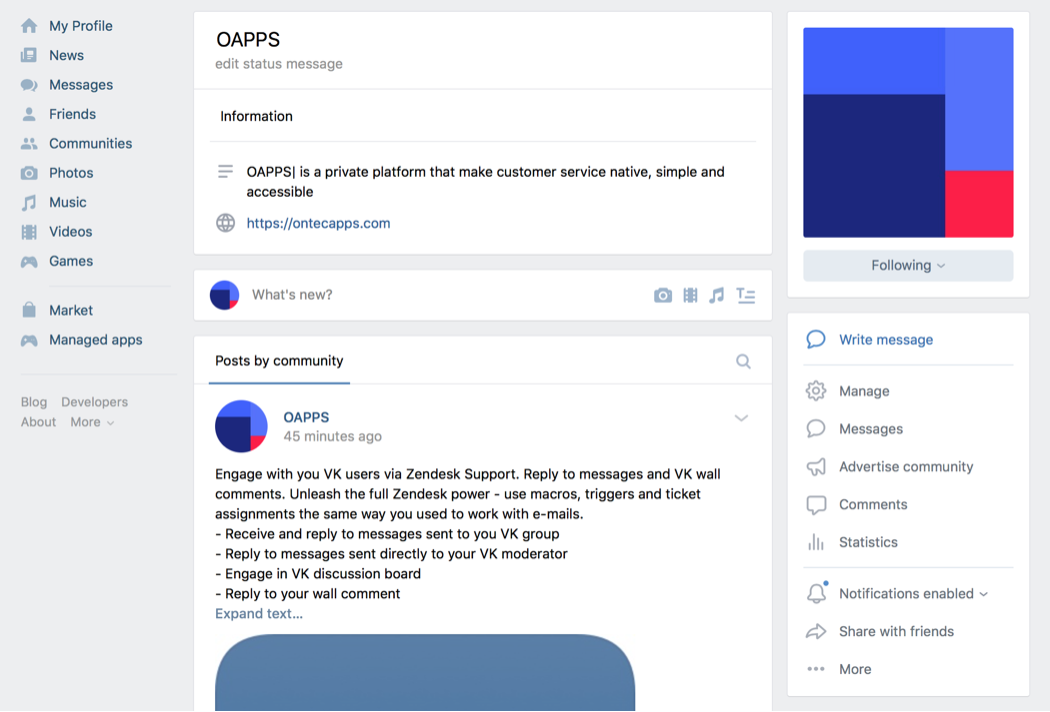
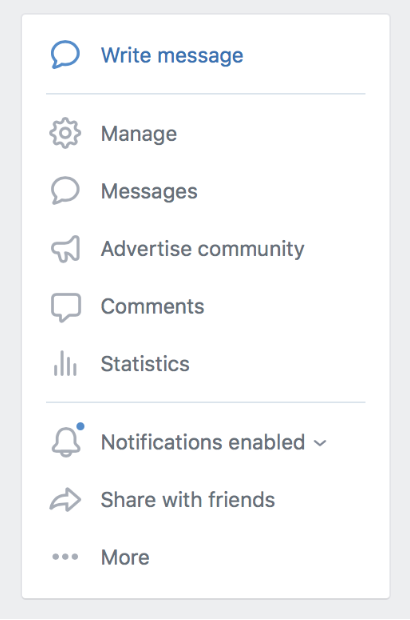
Go to "Manage".
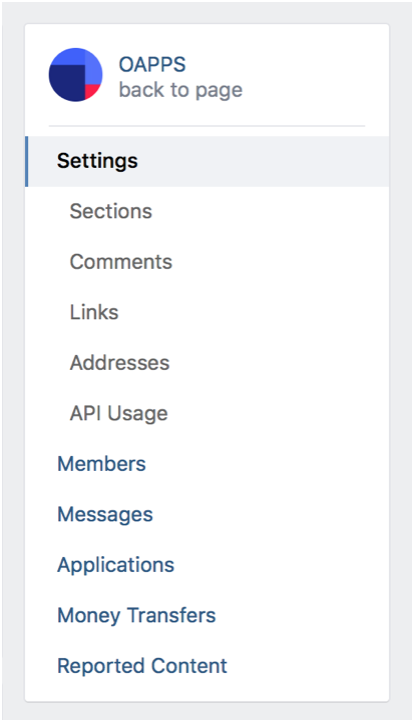
Go to "Settings -> API Usage".
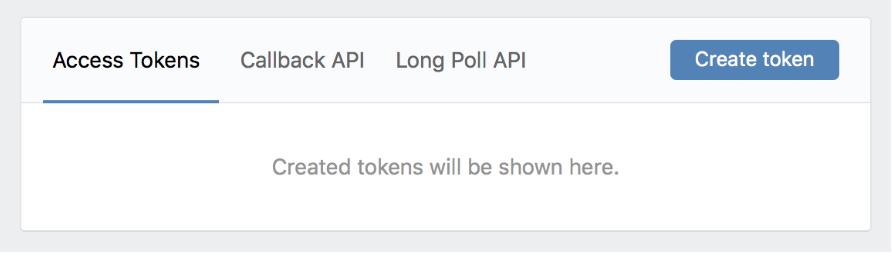
Push the "Create token" button.
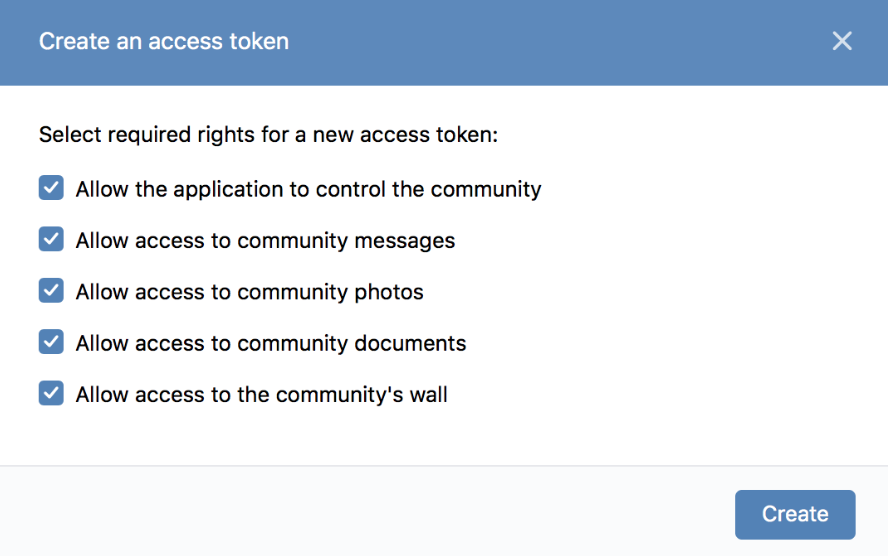
Select the options you need. At least it should be "Allow access to community messages" and optionally "Allow the application to control community". Use the latter if you don't want to configure other things manually.
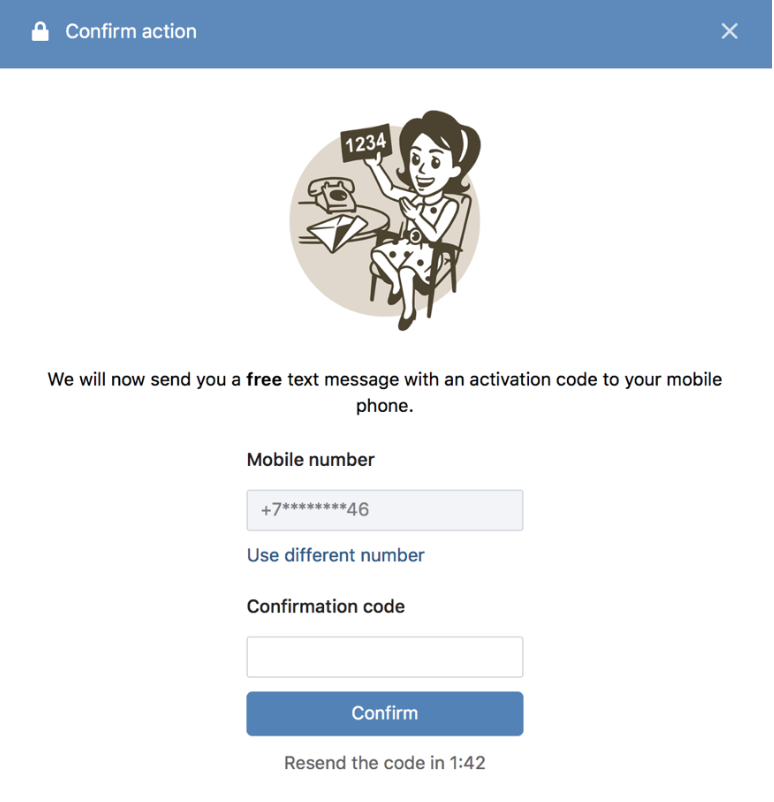
Confirm creation by entering a secret code from SMS (it depends on your VK security settings).
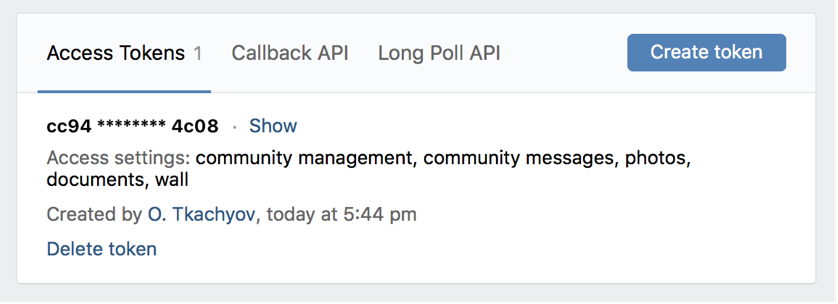
Copy your token and store it for future usage. If you want to see it later, you'll need to enter an SMS code again.
Phase 2. Creating an account for the community messages.
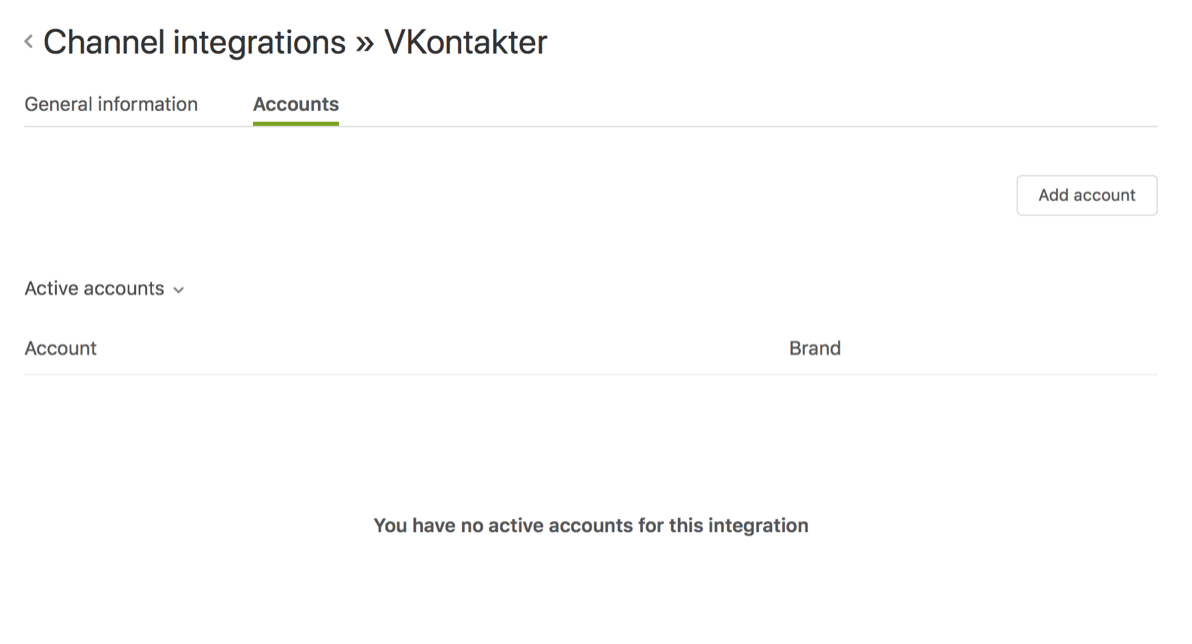
Go to the Zendesk application settings: Support - Channel integration - VKontakter.
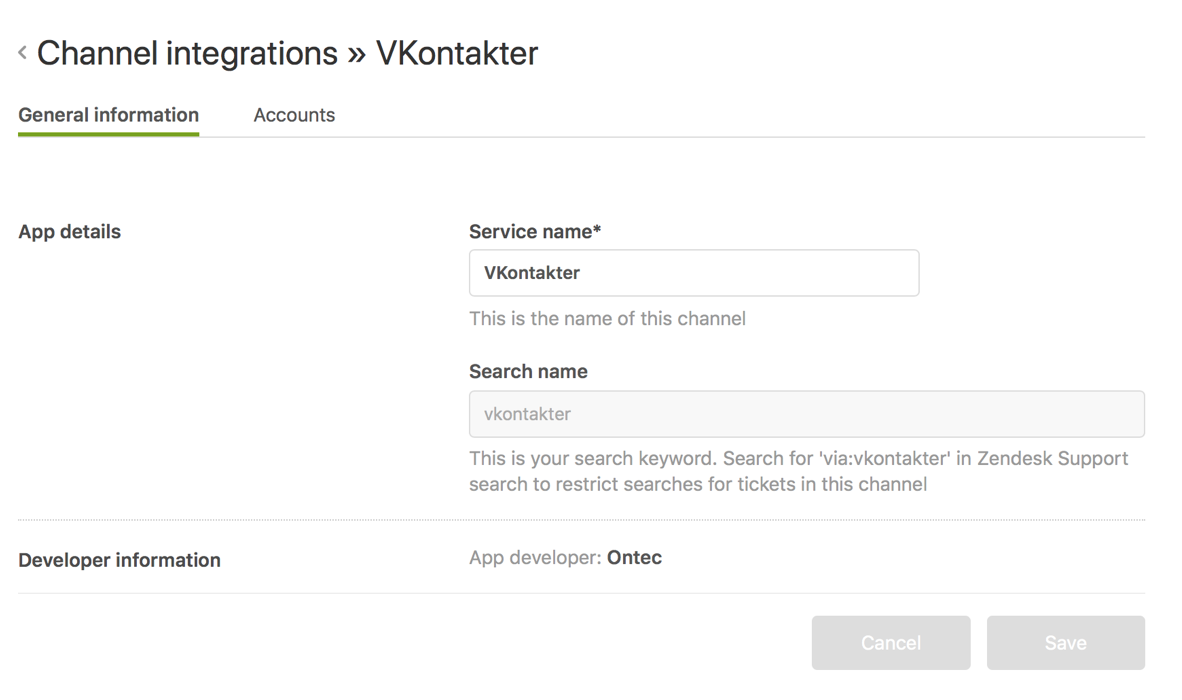
Switch to Tab «Accounts» and press «Add account».
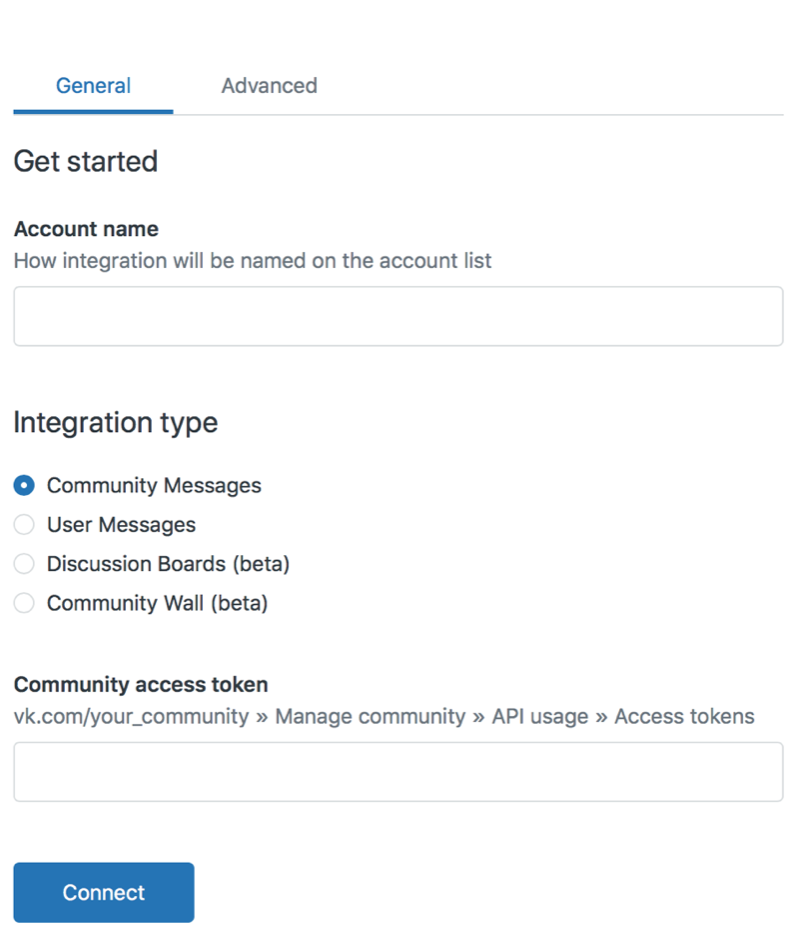
General
Fill all required fields and click "Connect".
- Enter a new account name.
- Select the "Community messages" option.
- Paste the token you saved before into the "Community access token" field.
- Click "Connect".
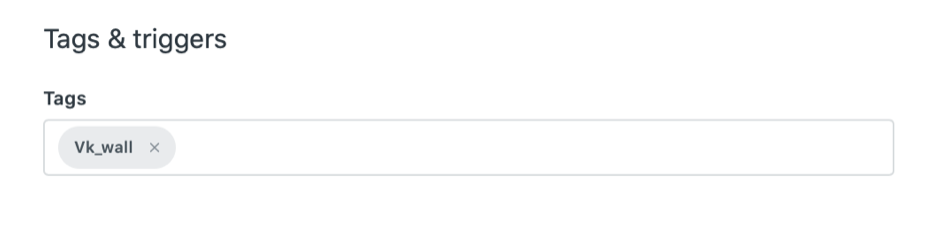
Advanced
Use tags for each account to configure the routing of incoming requests.
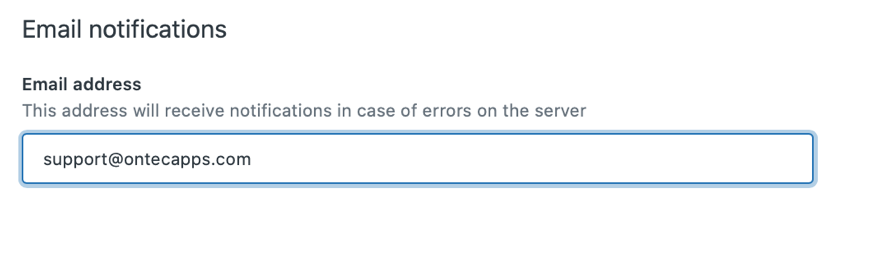
If you leave your e-mail address, the system will notify you in case of problems with the configured integration. We will send you a notification and you will not miss a message from your customers.
Set the subject length and format. By default, the first client message is used as the subject of the request. If you apply these settings, then the topic will be added with a prefix [VK] and the subject text is trimmed to the value specified as the «Ticket subject length».

Your VK Community wall is configured.
Comments
0 comments