
Linker app
You can use the Linker app to create linked sub-tickets as you chat with your customer. The app allows you to classify linked tickets with a few clicks without navigating away from the current conversation.
Activate Sunshine Objects
Linker app requires activated Sunshine Objects.
Sunshine Objects are included in Zendesk Support Enterprise and new Zendesk Suite plans.
To activate it:
- In any product, click the Zendesk Products icon in the top bar, then select Admin Center.
- Click the Sunshine icon in the left sidebar.
The Custom Objects page opens in Admin Center.
- Click Get started.
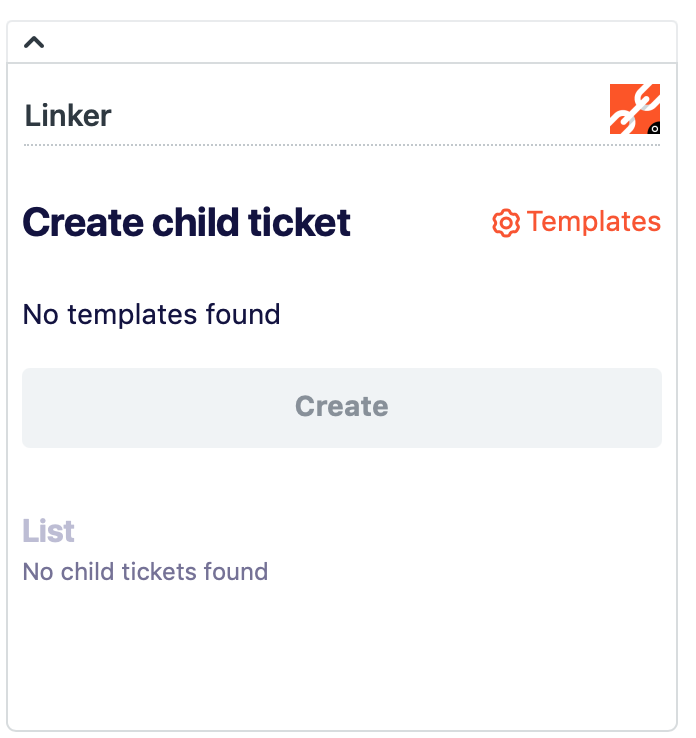
Configure templates
After installing the Linker app open any tickets.
Click (⚙️Templates)
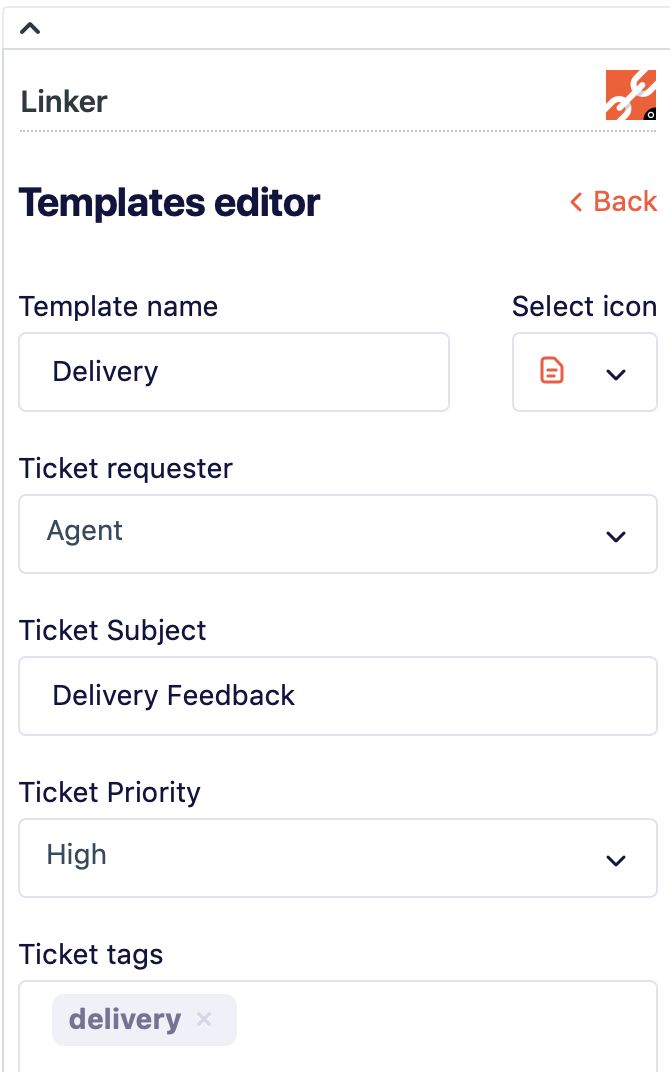
Click Add Template
Fill in the required template fields and press Save Template.
You can continue adding as many templates as you wish.
There are the following fields in the template:
- Template Name and Icon - Used to identify template for agents
- Requester - You can choose who will be the requester of the ticket: parent ticket requester or current agent.
- Ticket Subject - A subject you want for the child ticket.
- Ticket priority
- Ticket tags - the app will create child tickets with tags you specify here.
- Initial Private comment - it will add Internal Note to the child ticket.
- Ticket classification - You can choose a custom field that your agents will have to fill to create a sub-ticket.
- Ticket status - You can choose one of the statuses for new sub-tickets created with this template.
- Group - sub-tickets will be assigned to the selected group.
Test the app
After you have added templates, you can press Create to test how the child ticket works. 
Newly created sub-tickets will appear in the tickets list.
Click on the child ticket from the list to open it in the new tab.
Comments
0 comments